Streamline Your Workflow: How to Quickly Remove Unwanted Pages from PDFs

Mastering the art of PDF editing can be a game-changer. Whether you’re a student striving for academic excellence, a professional navigating the complexities of the business world, or simply someone looking to streamline their digital workflow, the ability to swiftly remove pages from PDF documents can significantly enhance your productivity. Thankfully, with the abundance of user-friendly tools available today, achieving this feat has always been challenging. So, delve into the steps to effortlessly remove unwanted pages from PDFs, empowering you to take control of your digital documents with ease and efficiency.
Choose the Right Tool
The initial step in removing unwanted pages from a PDF is selecting the appropriate tool for the job. With many software options at your disposal, ranging from credible online tools to more advanced desktop applications, choosing one that aligns with your specific needs is essential. Look for a tool that offers the necessary features, such as batch processing for multiple files or previewing documents before you delete PDF pages, and boasts a user-friendly interface for seamless navigation.
See also: Ultimate Guide to Meesho Supplier Panel & Login Process
Upload Your PDF
Once you’ve identified the ideal tool for your requirements, it’s time to upload your document. Most tools offer a hassle-free upload process, allowing you to drag and drop your file into the interface. Alternatively, you can opt to select the file from your computer’s file browser.
Additionally, depending on the tool you’re utilising, you may be able to import the documents directly from well-known cloud storage services like Google Drive or Dropbox, streamlining the process even further.
Select the Pages to Remove
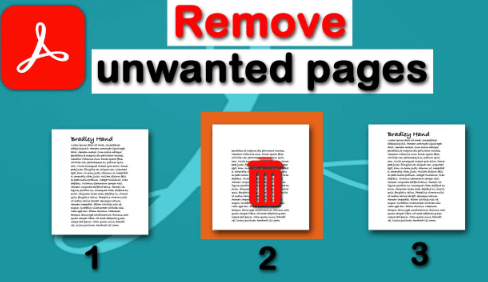
Once you have uploaded your PDF remove pages by identifying and selecting the sections you wish to remove. Various tools present different methods for this process. Some tools provide a thumbnail view, enabling you to manually select individual sections effortlessly. Others offer options for selecting ranges or even entire sections of the document, facilitating a more streamlined approach.
Additionally, certain advanced tools might allow for extracting specific content or automatically detecting irrelevant sections, enhancing efficiency. It’s quite essential to choose the method that best suits your preferences, needs, and the complexity of the task, ensuring a tailored and effective document management experience.
Remove the Pages
Once you’ve made your selections, removing the unwanted pages from your document is a straightforward process. Click the appropriate button or option to delete the selected pages. Most tools offer a confirmation prompt to ensure you don’t accidentally remove the wrong pages, providing an added layer of security. Additionally, some may offer the flexibility to undo deletions, offering peace of mind in case of any last-minute changes.
Save Your Edited PDF
With the unwanted pages successfully removed, saving your edited document is time. Most tools allow you to specify a save location on your computer and select a preferred file format for the edited document, such as PDF, JPEG, or PNG. Depending on your tool, you may also have the option to merge the edited file with other documents or save it directly to cloud storage for convenient access across multiple devices.
Final Thoughts
Removing unwanted pages from PDFs can be a manageable task. With the right tools and techniques at your disposal, you can streamline your workflow and effortlessly remove pages from PDF documents. Whether you’re preparing a presentation, organising your research notes, or simply decluttering your digital files, mastering the art of removing unwanted pages from PDFs is quite a valuable skill that can significantly enhance your productivity. So why delay? Implement these simple steps today and take control of your PDF editing tasks like a seasoned pro.


